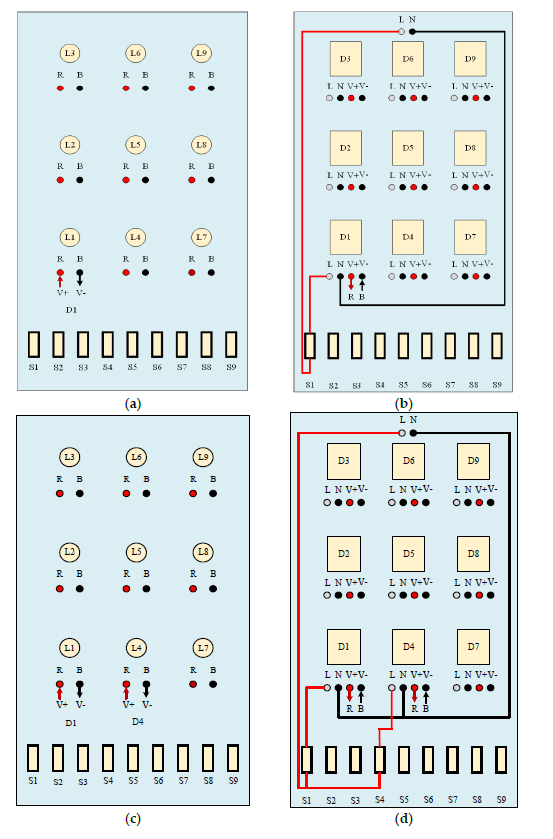
Previous Image Next Image figure-3-a-d-layout-circuit-wiring-diagram-of-the-led-equipment-of-each-layer